My first job out of college was for a furniture company noted for the metal framed residential furniture they made and sold. It was all designed to quick assemble. No welding of metal parts. Clever engineering of steel connections made their furniture go together rigid and precise. One connection they used between small tubing into larger tubing was to taper the end of the small tube, then pull it tight into a slightly smaller die-punched hole. This post is about a wood version of that connection.
For this sample a three degree tapered end mill, a 3/8" diameter wood dowel, and a 1" diameter wood dowel are used.
 |
| Taper the dowel and the hole |
A 90 degree connection that wedges tight and stiff with no glue. Draw tight with a wood screw.

 |
| Pocket hole screw |
 |
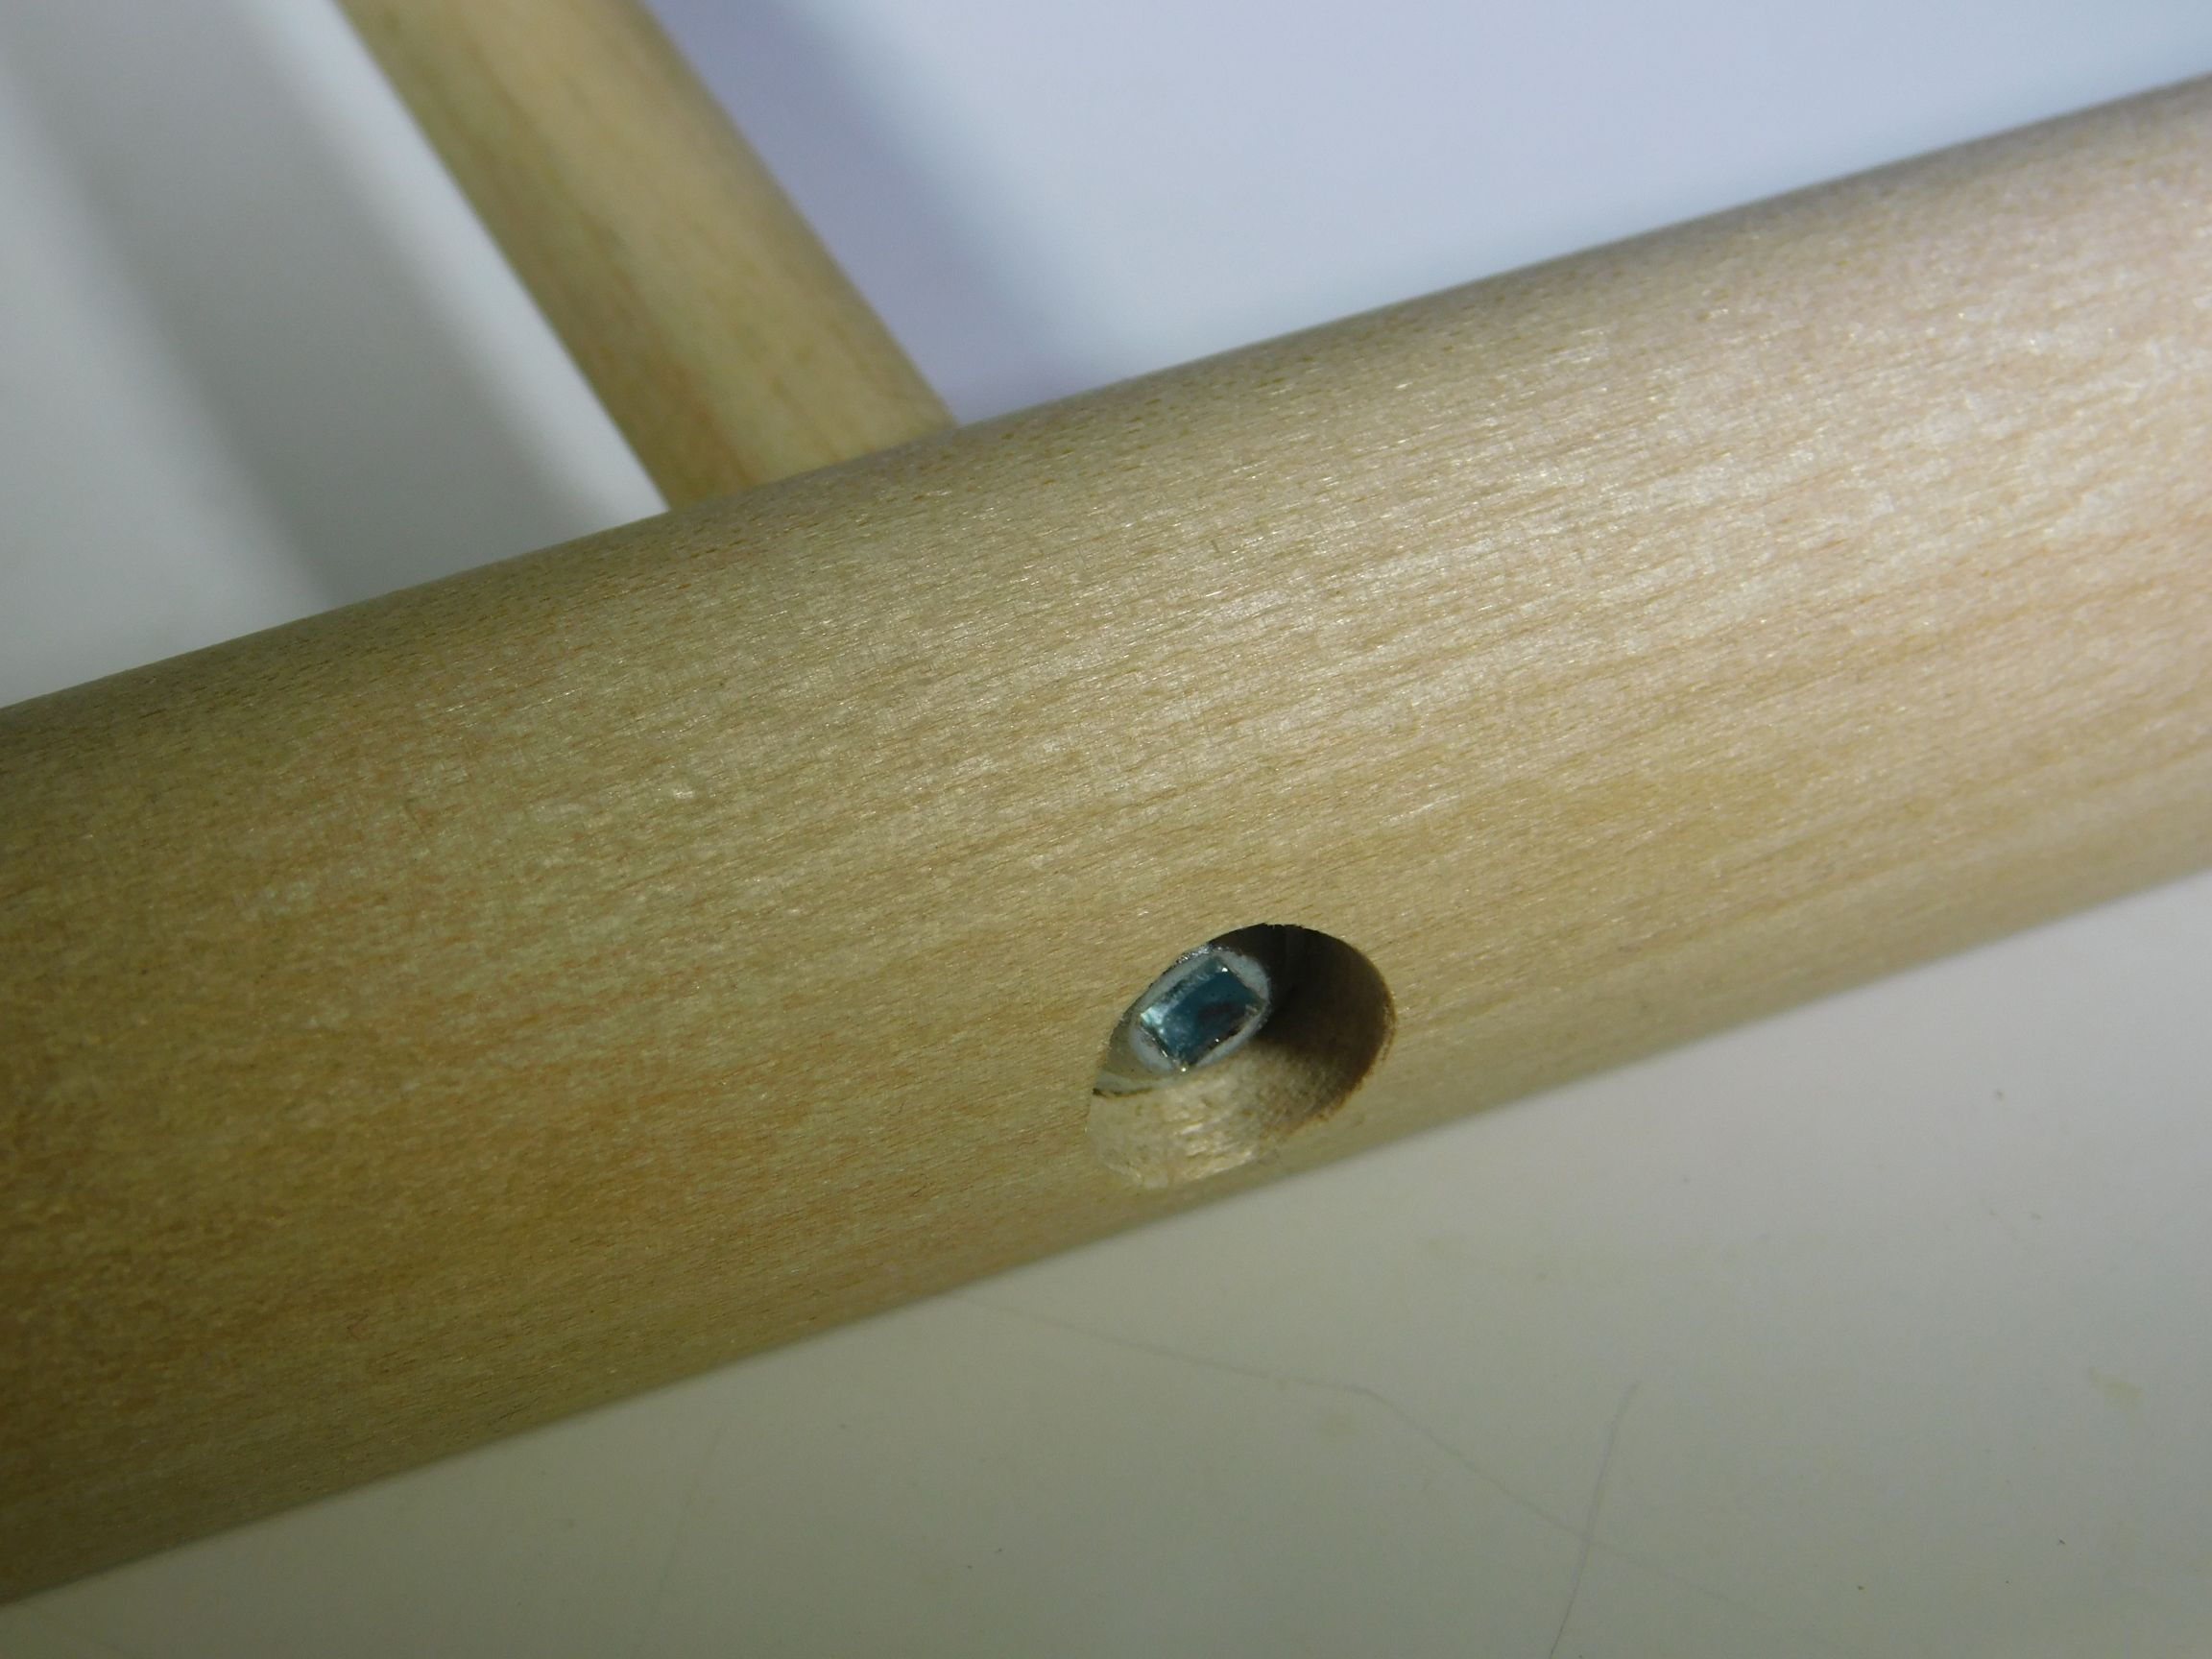
| Clean, precise, and easy to create. |
The small dowel end was pre-drilled for the pocket hole screw.
 |
| Pre-drilled for screw threads |
Taper theory: Wood dowels are imperfect. If they have been exposed to humidity changes after production then they are usually out-of-round by a few hundredths. Drill bits make round holes. A straight dowel end (likely a bit wider than thicker) into a straight hole drilled into wood is either loose in one axis, loose all around, or so tight you have to pound/press it into the hole. Pressing it into the hole will wear off the fat side or deform the hole to accommodate the oblong dowel end. Use a CNC with precision down to 0.001" to recut the end to a "perfect" tapered shape and a "perfect" matching tapered hole. There is no abrasion between dowel and hole when inserting until near the bottom when the tapered sides start to press against each other. Tapping or pulling the dowel in the last 1/32" or so presses the sides together. Uniform contact around the perimeter. Friction all around.
Comments welcome!
4D


