Search This Blog

Showing posts with label Knock Down Joinery. Show all posts

Wednesday, February 5, 2025

Wedged Tenon Joint for my Landscape Model Stand Design

Test Sample
My Landscape Model Stand posted here used a wide floating plywood tenon between the feet and the vertical legs. It was never intended to come apart.  This joint is one of a few different prototypes to use as an alternative connection.  It has to be snug with no flex when together, yet not glued so that it can come apart. 
Embedded Square Nut
The mortise was cut 1/16" deeper than the length of the tenon. That allows the screw to pull it in snug and not bottom out. A square 1/4-20 nut was embedded into the bottom of the tenon. The pocket for the nut was cut with a 1/8" spiral end mill. Metal threads being more reliable than threads cut in wood. 
A flat head 1/4-20 bolt pulls the joint tight.
When the wedged sides are pulled together there is no gap or play between the mortise and the tenon. Yet it slides in easily until snug. 
Together tight with no play.

Creating the toolpaths was tedious, and cutting the mortise and tenon sides took considerable time.  I realized after cutting this sample that I do have a 3° tapered end mill. It would have been quicker to draw up toolpaths for and using it would be much faster than using a 1/8" end mill and the fluting toolpath to cut sloped sides of both tenon and mortise. 
3 degree tapered end mill version.

Making the foot out of the same strip of wood as the leg is simpler than making a unique foot from wider material. The design requires a very stiff joint with no flex or wiggle when together.  This wedged joint drawn together with a machine screw satisfies that requirement. Using a stainless steel nut and bolt they won't rust when exposed to the moisture in the wood. I have seen that happen in previous designs of mine. 

Now that I have the details figured out and simplified, I'm making a knock down version of my model stand using Philippian Mahogany.  Light weight yet plenty strong for the application.  2" wide by 3/4" thick legs and feet.  A 3" wide shelf. Stainless steel nut, bolt and hinge at the top. This type of bolt rather then the flat headed bolt used in the test piece above. 

3/8" diameter Aluminum dowels hold the shelf against the legs although if I could find some stainless steel rod or tube already 3" long and 3/8" in diameter I'd use it. 
Test Assembly
A stainless steel hinge recessed flush into their sides holds the legs together at the top. 
Hinged together at the top
With the hinge at the top and the shelf in place the triangle created locks the geometry for a rigid structure. The light weight Philippian mahogany used makes the whole assembly easy to pick up to move about. Slide the shelf off and the legs will fold together for a 1.5" thick flat package that stores easily.  Standing up spread out several of these will nest together.  They can also be stacked, although at 5' tall each the stack would grow in height quickly growing  3" or so with each one added. 

A photo of the assemble design. Note the two black bolts near the bottom of the legs which hold the feet securely.
Stand.  Ing Tall. 


Update 3/1/2025:  The mahogany I used for this stand has some internal stress, and as such the shelf wants to twist and slip back from the legs on one side.  To help it stay in place I bought some rare earth magnets with a hole in the center for a #4 screw. 
Rare Earth Magnet
First to replace the aluminum rods with steel rods. Then screwing a rare earth magnet into the bottom of each hole. That will keep the rods and shelf firmly in place yet allow removing the shelf with a simple tug to overcome the magnetic pull. 

3/8/2025:  Now with some cherry stain and Minwax Polycrylic on it this latest version of my model stand/easel posed for a few pictures:


In summary, the wedged tenon drawn in with a bolt works well.  Of course that joint took my CNC to make, but my CNC is just another tool among many that contribute to the fabrication of my designs. 

Comments welcomed.  
4D  


Sunday, October 30, 2022

Tapered Halving Joint

Halving Joint
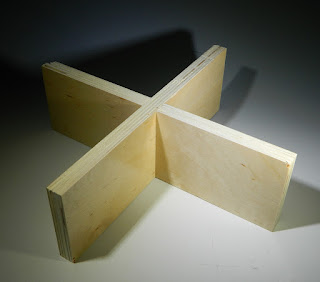
Half lap (halving) joints in standing wood parts can be made with many tools in a woodworking shop.  They are an obvious joint to use where flat pieces intersect and need to seem to pass through each other.

The disadvantage of the joint is when you want it snug you have to take care when cutting each side.  Yet when it is a very good fit the simple act of sliding the joint together can scrap off finish or mar the surface. 

I came up with a CNC cut version that is easy to slide together yet is very snug when assembled.  Both sides of the joint can be cut from the top side of the boards laying flat on the bed of the CNC.  I've used this joint several times between Baltic Birch plywood parts, and between two different thicknesses of hard maple for a student's project. 

Render from Aspire Software
One side of the slots cut has a tapered edge to slide against the tapered face of the opposing half.  Both sides are cut the same way. Care must be taken to match the slope of the face to the tapered edge of the slot.
Each Side Identical
When the thickness of the material is carefully measured, and the CNC toolpaths are done right this joint slides easily down until about 1/16" from closed.  A tap with a wood mallet drives it the last 1/16" for a joint so tight it'll take the mallet to open it up again. 
Almost Together
The ramped side helps the plywood stay perfectly aligned as it slides together.

A CNC file made for Vectric's Aspire or VCarve Pro/Desktop can be found HERE.  The slope made on the face of the boards was done with the fluting toolpath and a few parallel vectors.  I used a 3/16"d downcut spiral router bit for all the cuts.  If done with material thicker than 3/4" a  larger diameter bit may be needed.

Questions and Comments are welcomed and encouraged. 

4D

Saturday, August 6, 2022

Knock Down Panel Joinery: Tusked Mortise and Tenon

Tusked Mortise and Tenon
This is another CNC cut panel connection, It is a variation of the more classic Through-tenon with a wedge pin often used on trestle bases of dining tables or workbenches. I made this sample to show my Workshop 2 Furniture Design students as one option for their knock-down furniture design assignment.  
The Wedge and the Slot 
Both the wedge and the slot for it were cut out on my CNC.  The inside face of the slot is sloped to match the slope of the wedge.  The fluting toolpath in Vectric's Aspire or V-Carve software made easy work of the slot's inner slope. 
Tenon and shoulder
The shoulder of the tenon has a dogbone cut to account for the inside corner which a round router bit can't make. I added a 0.003 allowance to the slot for the tenon for a nice slip fit. The slot for the wedge has room for the wedge to pull the tenon tight against the back of the joint.  Sloping that slot to match the angle of the wedge face makes a high friction interface that stays very snug with the wedge tapped in. A tap or two on the bottom of the wedge will pop it free to make disassembling the joint quick and easy.  

Comments and questions are encouraged!

4D

Friday, August 5, 2022

Knock Down Panel Joinery: The Twist Tenon

Twist to Lock Tenon
For the Workshop 2 furniture design classes I taught I had the students design and make furniture that could quickly assemble and also knock down (come apart) easily. 

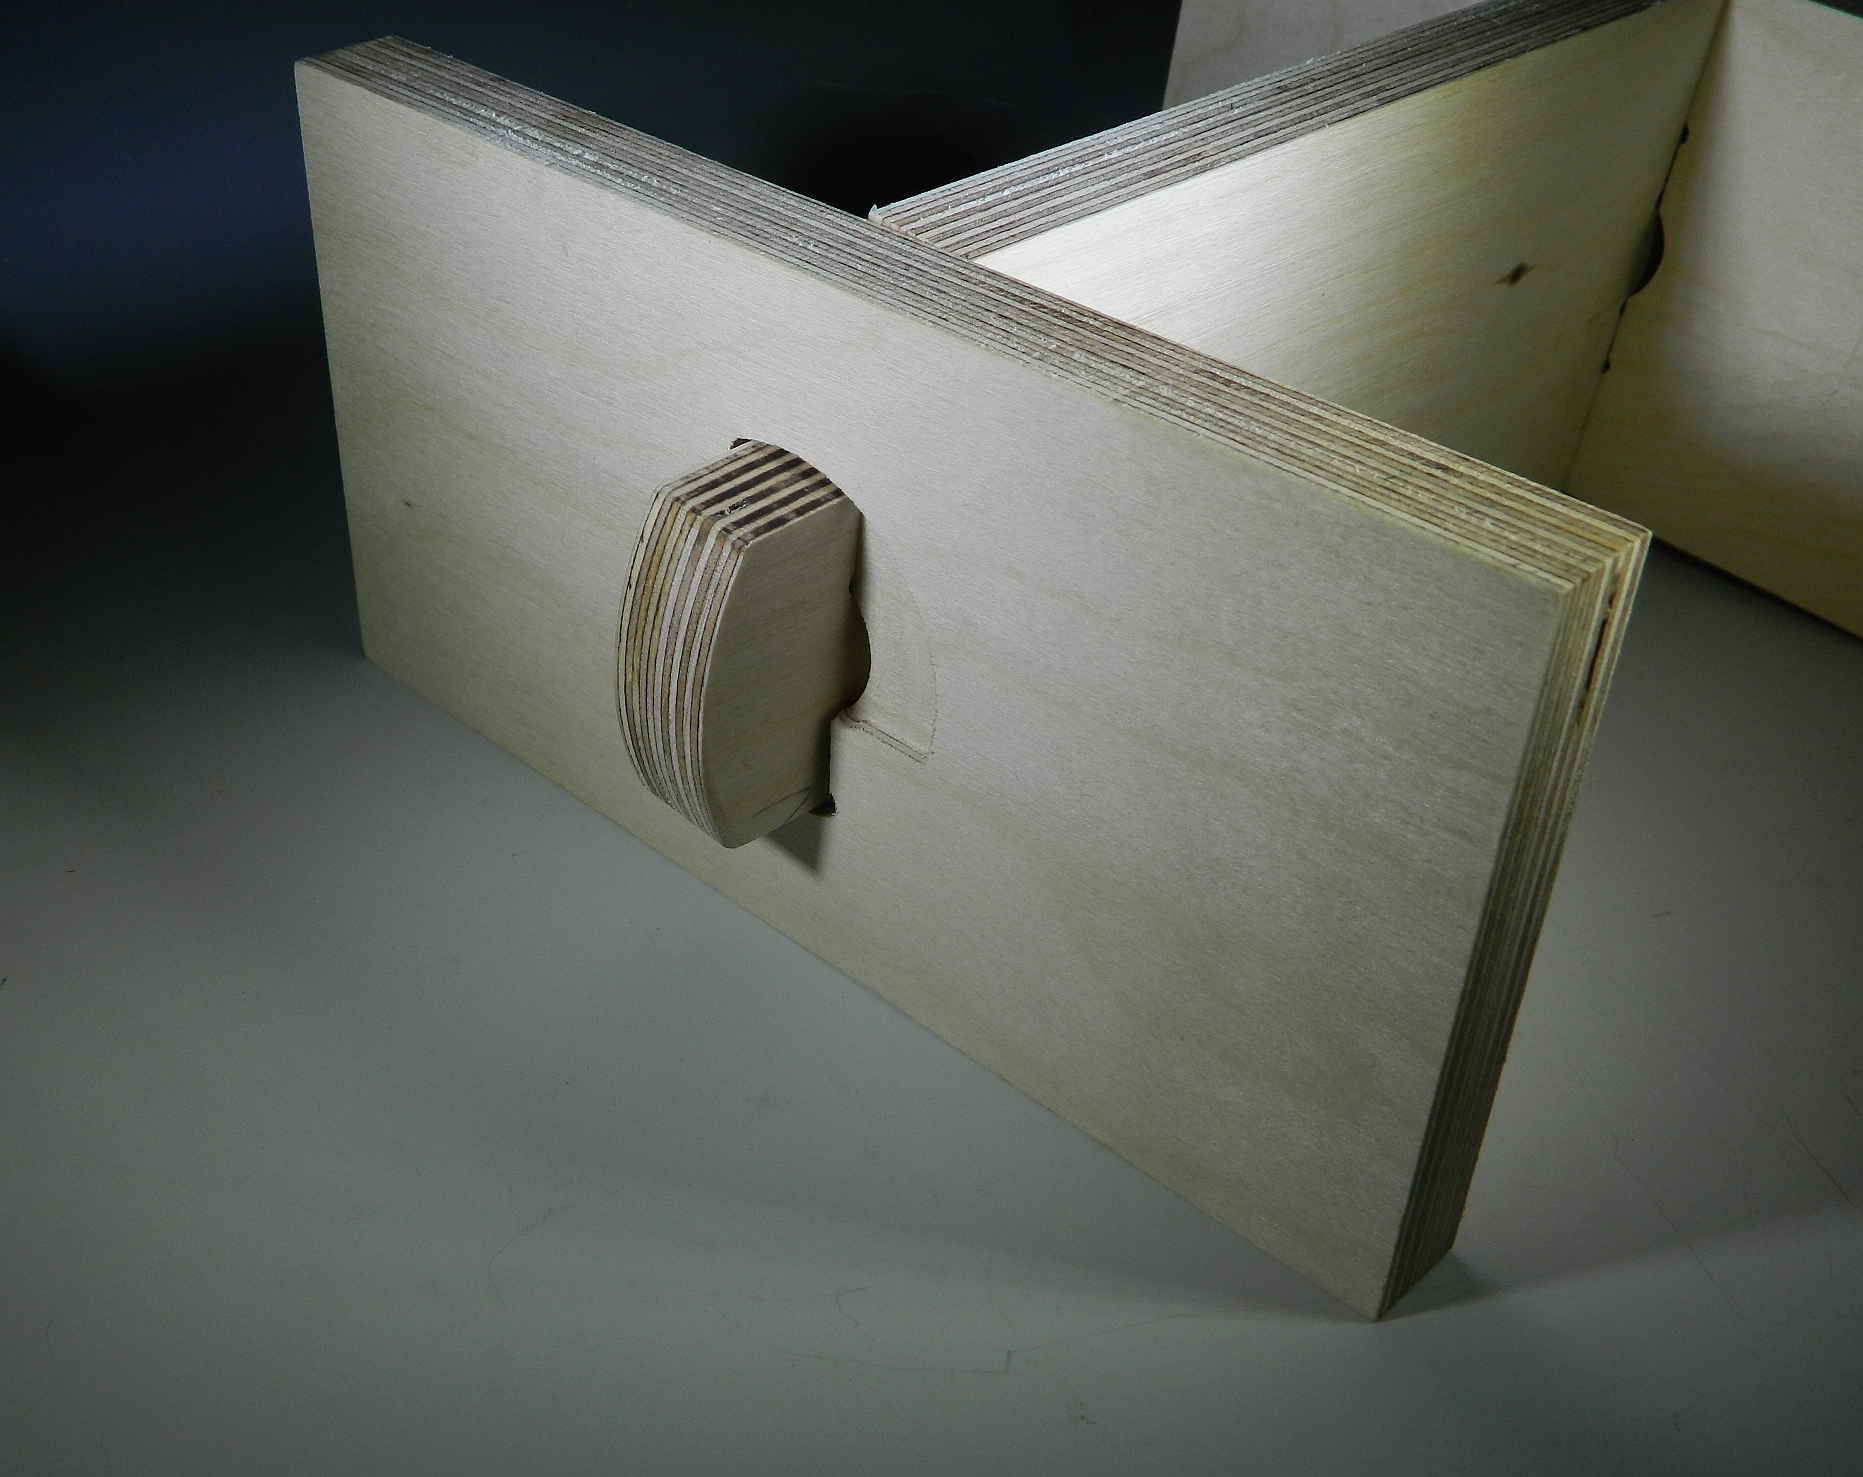
Most woodworking joinery is not designed to come apart repeatedly. This CNC cut twist tenon connection does slip together easily and once twisted 90 degrees locks the parts together securely.  Twist the other way to allow pulling the parts apart. 

Twist 90 degrees to align with the center slot
This example is a snug fit with only a few thousandths clearance between tenon and the slot it slips through. When twisted the fit is still snug, but could be improved by adding a slight ramp to the twist surface on the end panels. That would have the twist action wedge tighter as it turned.  The fluting toolpath in Vectric's Aspire or V-Carve software could handle the ramping. 
Once apart all pieces store flat.
Using this joint a simple table could be made from 4 panels. The center panel would have tenons on two sides and the top. Rotate the sides onto the side tenons, then rotate the top onto the top tenon.  With the top in place it would prevent the sides from rotating. A double thick top could have the top tenon recessed flush when assembled. A couple of spring loaded pins could lock the top to the sides as it rotated into position. 

Comments and question are encourage!
4D