![]() |
| No insert plate needed |
![]() |
| Direct hose connection |
Furniture Design, Woodworking, Creative Joinery Solutions, and a little process.
![]() |
| No insert plate needed |
![]() |
| Direct hose connection |
![]() |
| Key Cup |
![]() |
| Profile done on the Rotary Axis |
![]() |
| Cherry stain applied |
To avoid screw holes in the bottom we glued the starting block to a plywood scrap with notebook paper in between. After the project was done on the lathe the faceplate was unscrewed and removed, and then the plywood was relatively easy to split off the bottom with a broad chisel and a few taps of a mallet. The bevel cut on the bottom made it easy to place the chisel on the paper seam.
![]() |
| Plywood back split off. |
![]() |
| Bottom sanded clean and smooth.. |
The bottom was then stained and finished. A felt self-adhesive 3.5" diameter disk was stuck to the bottom. A bit of cushion and a shadow line for effect. As pocket change isn't as common as it used to be this cup can still be useful. I park my car keys in mine. An official spot where they can rest in style between car trips when not needed.
Questions and comments are appreciated. Please no ad or self serving links otherwise they will be deleted.
4D
My Milwaukee trim router came with an extra base plate. It is 5.75" in diameter and has an extra set of mounting holes around the perimeter. I suspect it fits their larger routers using those holes. It can replace the stock one and add capability to hold guide bushings, or mount on a jig for cutting circles or ellipses, or install into a small router table. This is the clamp on router table I designed for it.
![]() |
| 14" square |
The side brackets slide into tapered dovetail slots on the underside of the top. They slip over the edge of my workbench easily but clamp down tight with a turn of the cam dowel between them. You can glue the brackets in, but there is no real need. They are snug in the dovetail slots and had to be tapped in the last inch or so. They won't be easy to remove intentionally.
![]() |
| Side Brackets |
![]() |
| Cam dowel clamps the router table tight to my bench. |
![]() |
| Render from my CNC Software |
A dust shroud came with my Milwaukee trim router. Having the router mounted in a table is a good opportunity to put that shroud in place, hook it up to my dust vac, and see how well dust/chips are collected as it runs. I oriented the router so the shroud opening is forward for easy connection to my dust collector hose.
![]() |
| Dust Vac Connection |
The 14" square top greatly extends the support surface. A fence can be clamped to it for straight guided edge cuts or cuts parallel to an edge using bits with no guide bearing.
![]() |
| Quick release fence. |
I know I'll get plenty of use from this clamp on trim router table. Advantages of the design:
I stow it under my bench when I'm not using it.
Comments and Questions are welcomed and appreciated. No ad links in your comments please.
4D
![]() |
| Oak handle for a parting tool |
![]() |
| Handle and Blade |
First step after mounting it on my radial axis was to turn the square block into a cylinder. That was done with a pocket toolpath at 0 depth, spanning across the surface. As the rotary axis spun this toolpath trimmed off the high corners, leaving a nice straight cylinder.
The ferrule end was done with a pocket toolpath. The contoured surface was done with a moulding toolpath and a ball nosed bit.
![]() |
| Done with the initial slope. |
![]() |
| Over the hump and almost done. |
![]() |
| CNC is done. |
![]() |
| Handle and the tool it will hold. |
I'll put some Danish oil or Tung oil on the handle to finish it, and I may v-carve my initials in the back end. I'll update this post with final finished beauty photos when that is done.
![]() |
| The End. |
![]() |
| Round to Hex over 2 inches |
![]() |
| HDPE worked. |
![]() |
| Base slat with slots |
![]() |
| Base slat edge refined |
![]() |
| Tapered fingers |
![]() |
| Mating side |
This joint was not easy to create the toolpaths for. It took drafting skills I learned in high school and the great drawing tools in my CNC software to create. Tips of the fingers are the same width as the valley between them. One half fills the center area left by the other half. The tapered sides were accomplished with a 3 degree tapered end mill. It has a 0.125" diameter tip, 3 degree tapered sides, and just a little over 1" of cutting depth.
I'll use this joint for top and bottom zebra wood caps on 1.5" diameter cherry dowel legs. Applications are anywhere you want to join round wood parts end grain to end grain. Only limited by your ability to clamp parts vertically within your CNC cutting limits. If you do use this joint please consider referring those who see it back to this post.
With straight cut finger joints there is always a conflict of fit. A battle of wit. Too tight and the fingers may not fit together at all. A perfect match and while they do fit together they are a challenge to assemble and any glue in the joint gets scraped away when you do assemble them. Make the joint looser and you have a loose fit that glue ends up filling across gaps. By CNC cutting with 0.001" accuracy the fit of these tapered joints is both easy to apply glue to and assemble, and will go together tightly with even contact between inner surfaces.
![]() |
| 3 degree taper between fingers. |
Comments are encouraged and welcomed.
4D
My first job out of college was for a furniture company noted for the metal framed residential furniture they made and sold. It was all designed to quick assemble. No welding of metal parts. Clever engineering of steel connections made their furniture go together rigid and precise. One connection they used between small tubing into larger tubing was to taper the end of the small tube, then pull it tight into a slightly smaller die-punched hole. This post is about a wood version of that connection.
For this sample a three degree tapered end mill, a 3/8" diameter wood dowel, and a 1" diameter wood dowel are used.
![]() |
| Taper the dowel and the hole |
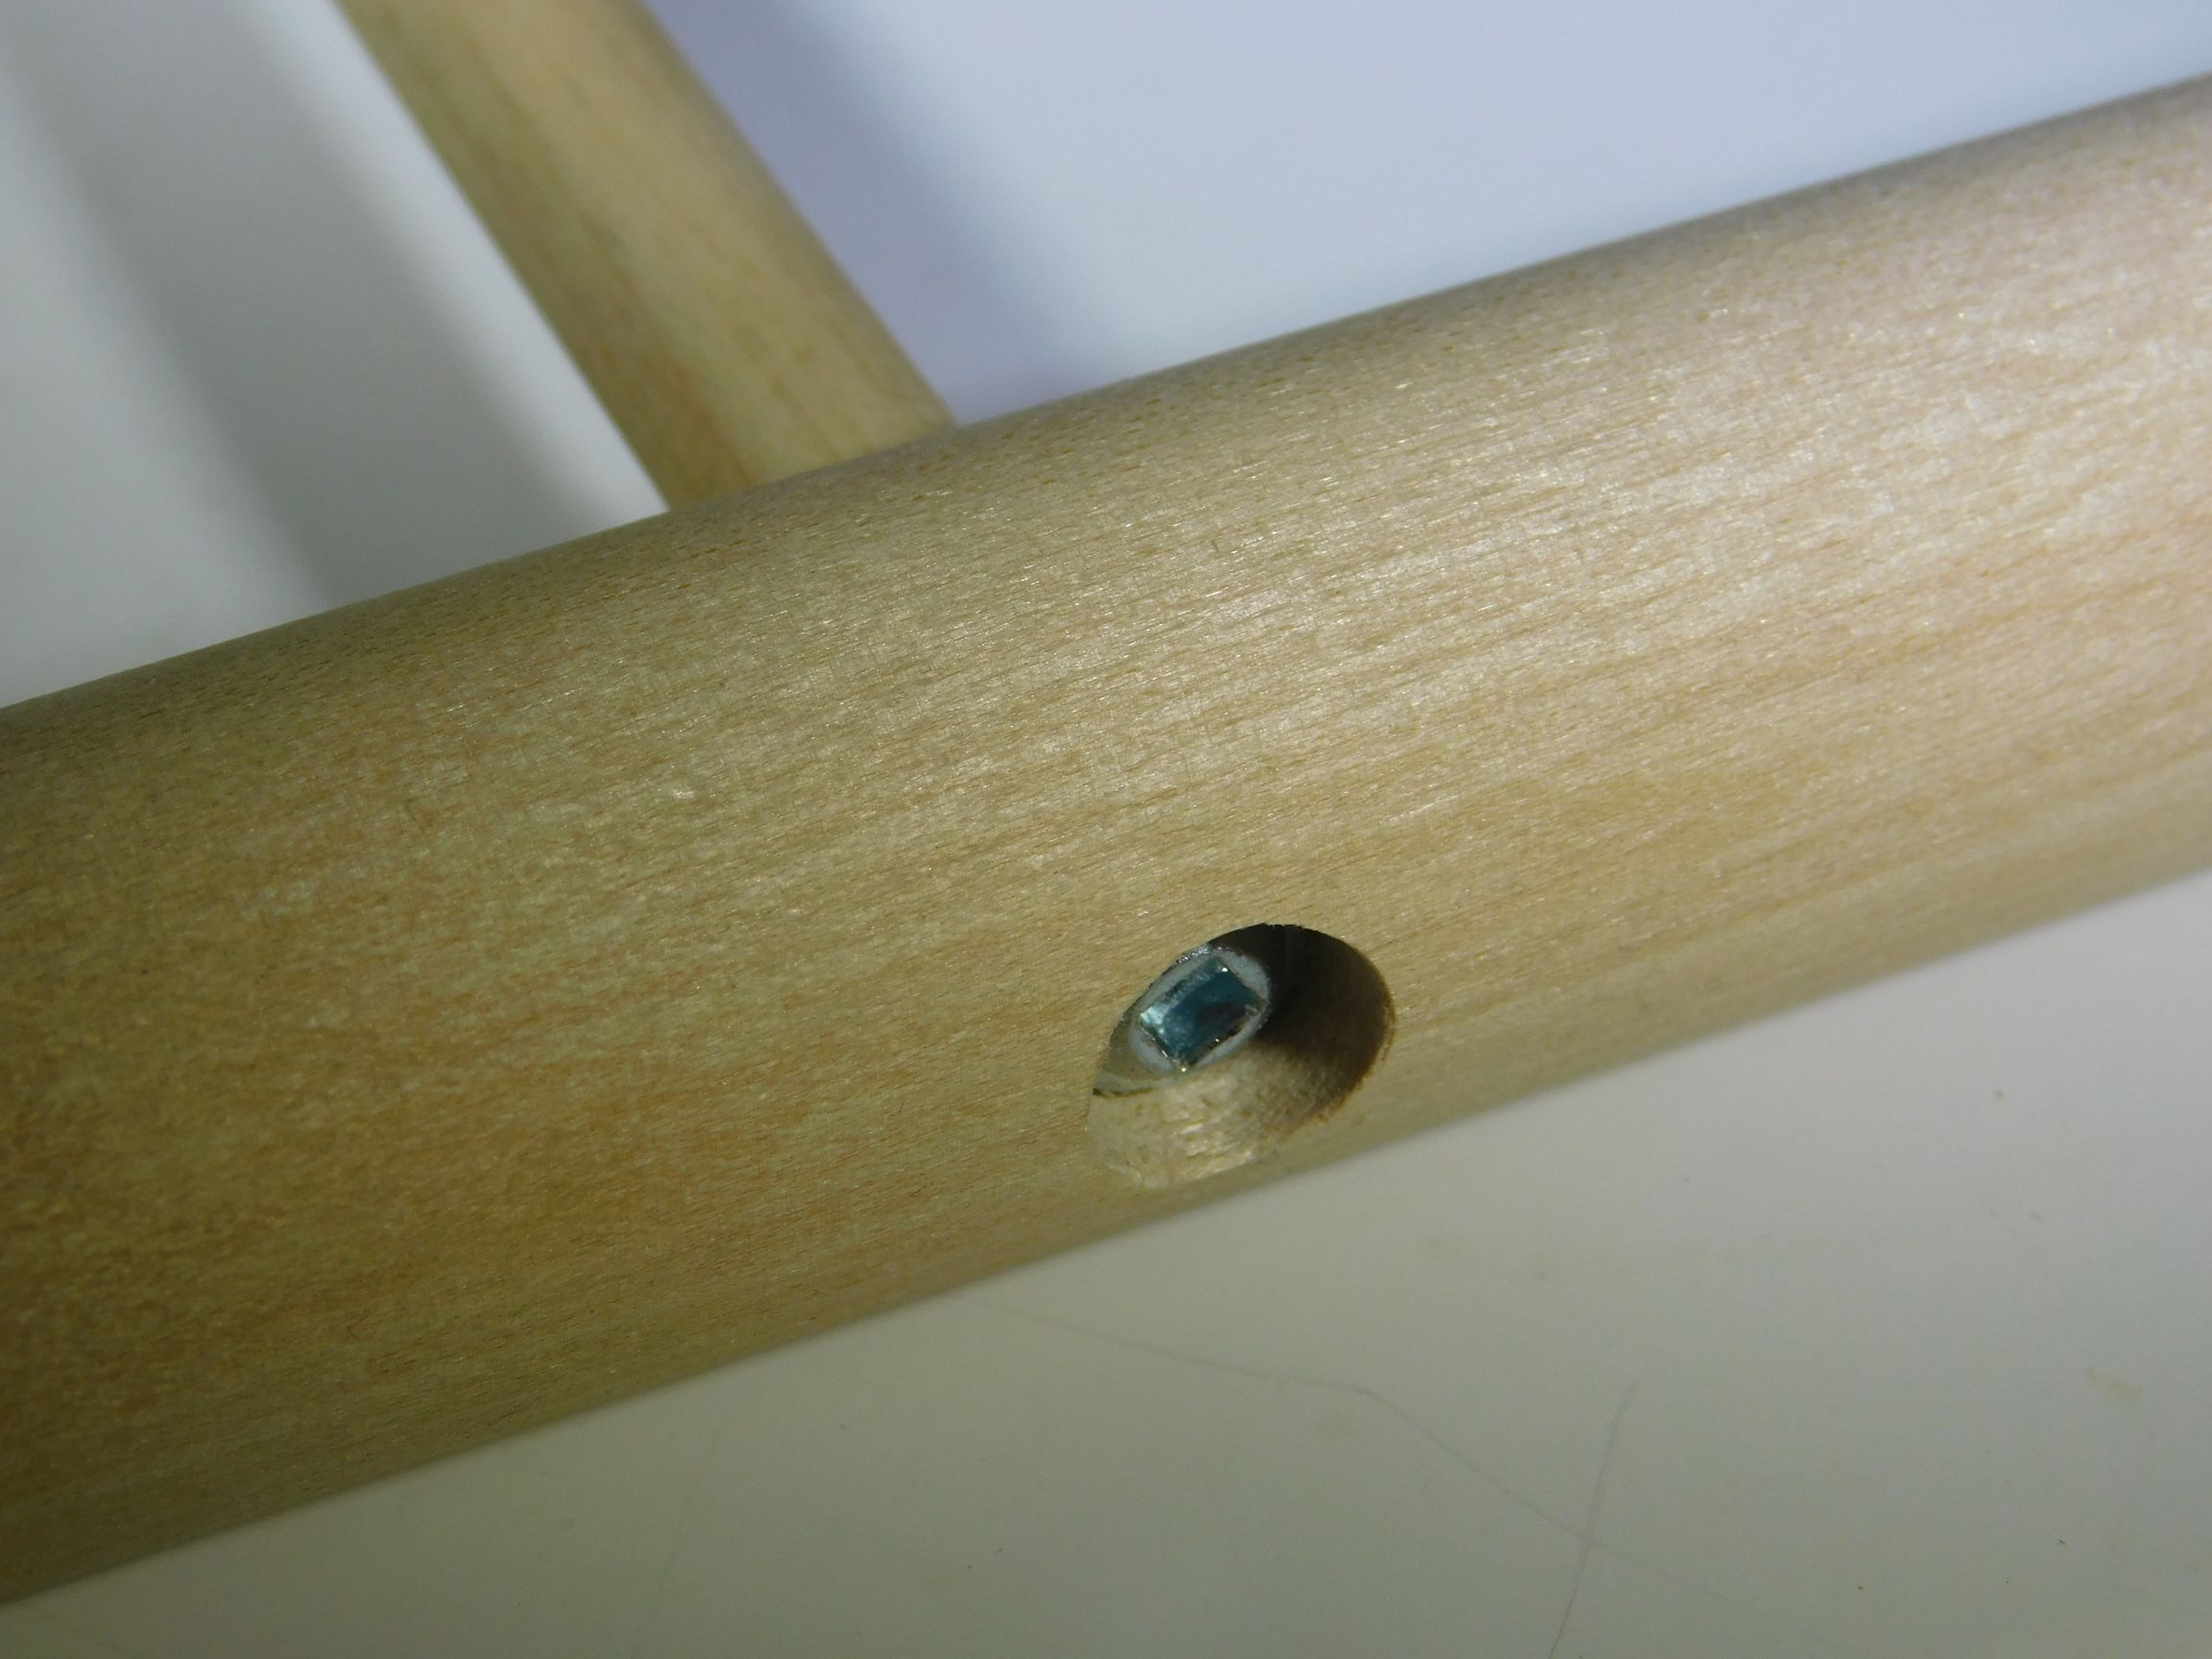
A 90 degree connection that wedges tight and stiff with no glue. Draw tight with a wood screw.
![]() |
| Pocket hole screw |
![]() |
| Clean, precise, and easy to create. |
![]() |
| Pre-drilled for screw threads |