 |
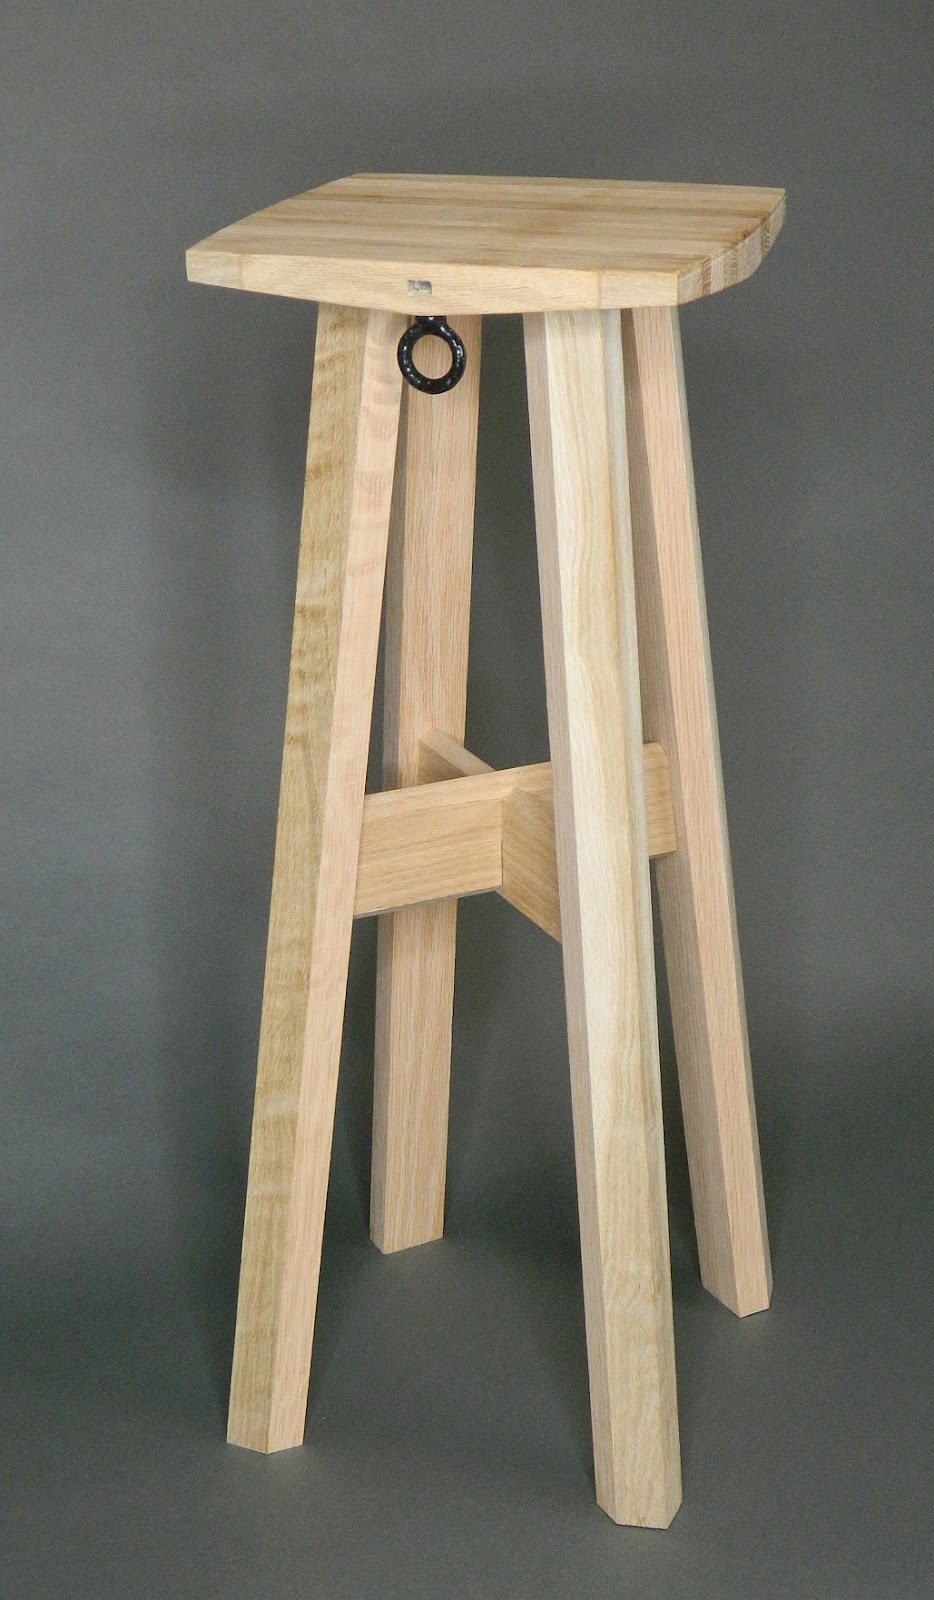
| Tiny Table 1 |
A Lesson in Wood Fabrication and Joinery
Teaching furniture design to college students who have no prior experience with fabrication techniques requires showing them examples of how to turn raw materials into finished furniture.
Tiny Table is a final project for the beginning workshop class to teach them common wood table joinery. It also shows them all the steps needed to get from raw wood to finished parts that make up the table. It is best to have students all work though the required steps to build their own version. It gives them motivation to do a nice job, and they end up with something they can use. In the process of making their own they also learn about the tools they will be using. That and the typical joinery used as well as how to make the required joints.
The project is also a lesson about and demonstration showing the continuity of details possible.
All tiny tables are 24" tall and have a top that is 9" x 9". Mainly to keep costs low, and provide an interesting category of furniture to design for, All students will confine their designs to these dimensions. There are 3 other tiny table examples with links to them below.
A tiny table is intended to stand next to a desk by your chair and provide a dedicated spot to charge your phone or smart watch or rest your mug of coffee or other drink of choice. Intended to serve as a place to charge your phone, this table top could potentially have a wireless charge coil embedded or at least some clever allowance for managing charge cords. This table could also find many other places in your home to live.
The 4 legs are connected by crisscrossing stretchers and attaching to the 9"x 9" top. The underside of the top is 3D carved to meet the slanting legs at 90 degrees as they approach at an angle other than 90 degrees. While on the CNC the perimeter shape can also be cut. If a wireless charging puck is to be used, then a precise pocket for it and a slot for its power cord can also be cut on the CNC. For this Tiny Table project all students will design, create toolpaths for, and cut out their own table top using the small CNCs.
 |
| Underside CNC carved |
 |
| Top profile |
 |
| Table leg. Outer bevel matches table corners. |
 |
| Top and bottom bevels matches leg bevel |
Renderings in this article are from my CNC software and don't necessarily show the proper orientation of the grain in the parts. Grain direction in the stretchers should run from tenon end to tenon end.
This tiny table teaches students how to properly size and make mortises and tenons, as well as layout and cut a halving joint for the crossing stretchers in context. The top and potentially the legs are opportunities to show students how to glue up panels of thick wood blanks from narrow/thinner strips of wood. Reorienting the wood face grain can reduce expansion/contraction by 2/3.
Not all projects have to look the same, but the base of each should relate aesthetically to their top. All surfaces of every component are opportunities to add detail to. It is the continuity of details in this project that adds to the story that can be told about the design. The story that you can tell is what makes the design more memorable and desirable.
Don't forget about finish. Some woods accept stain well to alter their color. Some may look better painted. How about India ink to blacken oak or ash but leave the grain details visible? Top finish can be oil based or lacquer based or water based or wax or French polish or whatever. Some yellow or darken the color. Water based and lacquer or Deft tend to go on clear. Just don't forget that top finish.
On this prototype a plastic coated eye hook is screwed into the bottom edge of the top to pass charge cords through so they can hang ready to use. The threads screw into a square nut embedded into a slot on one side. I made sure at least one end of the charge cords can fit through the eye hook center. The slot for the nut would be covered by a wood plug cut on the CNC to match the slot shape. For students a hook to hang a purse or backpack onto might be a good addition to this project.
See Tiny Table 2, Tiny Table 3, and Tiny Table 4 for a few alternative variations.
Some related educational articles:
Learning Actual Project Costs.

No comments:
Post a Comment